How to Repair Damaged Drywall Corners (Corner Bead Repair)
Outside drywall corners — the kind you see in doorways, hallways, and where two walls meet at a 90-degree angle — get a lot of abuse. Moving furniture, kids running through hallways, vacuums, and dogs all take their toll. Behind the joint compound on those corners is a thin metal or plastic strip called corner bead, which gives the corner its straight edge and protects it from impact. When the corner bead gets dented or torn, the repair is more involved than a flat-wall patch. Here's the full process.
How outside corners are built
An outside corner has three layers: the two pieces of drywall meeting at the corner, a metal or plastic corner bead nailed or stapled over the joint, and three coats of joint compound applied over the bead. The bead provides the straight edge; the mud gives the smooth finish. A small dent in the mud is a cosmetic repair. A dent in the bead itself is a structural repair, and that's where most homeowners get stuck.
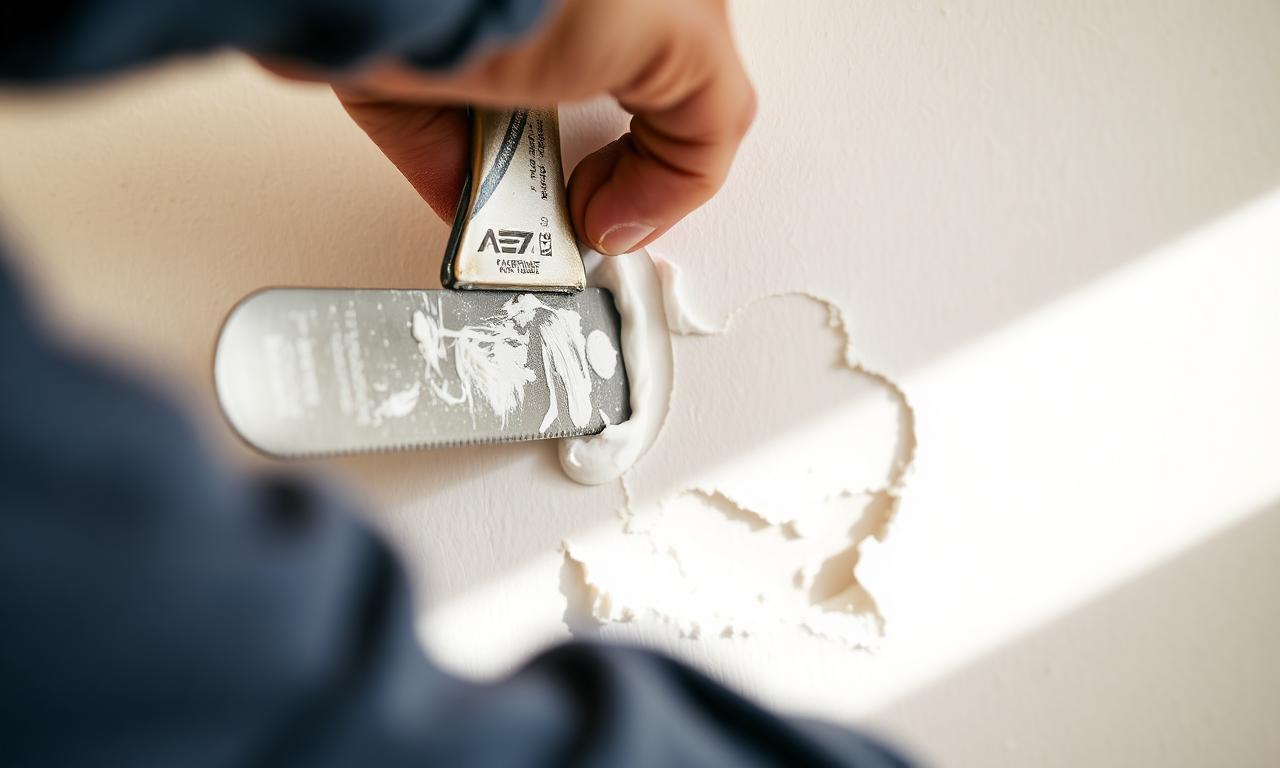
Small mud chips (no bead damage)
If only the mud is chipped — you can see the metal or plastic of the corner bead under it — the repair is straightforward. Sand any loose mud back to a firm edge, apply joint compound with a corner trowel, let it dry, sand smooth, and prime. Two coats of mud are usually enough for a small chip.
Bent or dented bead
If the bead itself is bent inward (so the corner no longer forms a straight line), you have two choices. First, you can pop the dent back out from inside the wall if there's access, then fill from the outside with mud — this only works for small dents in flexible plastic bead. Second, and more commonly, you cut out the damaged section of bead entirely with a utility knife and tin snips, install a new piece of bead of the same type, secure it with drywall screws or staples, then apply three coats of mud over the patch.
Tools you need
For corner repair, you'll want a utility knife, tin snips (for metal bead), a 6-inch joint knife, a corner-finishing knife (optional but very helpful), 220-grit sandpaper, joint compound, and a piece of corner bead matching what's already on the wall. Most home centers in Fayetteville carry both metal and plastic bead in standard lengths.
Match the bead profile
Different homes have different corner bead profiles. The most common are standard 90-degree metal bead, plastic 'tear-away' bead used for textured finishes, and rounded 'bullnose' bead found in many Bentonville and Bella Vista builds. Replacing a bullnose corner with a standard square corner won't match, so verify what you have before buying replacement bead.
Three coats, feathered wide
The reason outside corner repairs sometimes look obvious afterward is that the new mud creates a slightly thicker corner than the surrounding wall. The fix is to feather each coat of mud farther out from the corner than the last — the third coat should extend about 8 to 10 inches from the corner edge — so there's no visible ridge where the new mud meets the old wall.
Texture matching the repair
Once the mud is dry and sanded, the corner needs the same texture as the surrounding wall. Knockdown and orange peel both spray-on easily over the corner with the right spray tip. Smooth corners just need a final light sanding and primer. Popcorn texture rarely shows up on outside corners (it's almost always a ceiling-only finish).
When to call us
If you're not comfortable cutting drywall, working with tin snips, or feathering joint compound out 8 inches in three coats, this is the kind of repair where a pro is worth the cost. A single corner repair is usually a one-visit job under $250, and the finished corner is invisible under any lighting.
If you're dealing with damaged outside corners in Fayetteville, Rogers, Springdale, Bentonville, Bella Vista, Fort Smith, Conway, or anywhere else in Northwest Arkansas, Fayetteville Drywall can usually have a technician on-site within 48 hours. Call (479) 555-0900 for a free, no-pressure quote, or visit our contact page to request an estimate online.